Our tried and tested tips to help you shoot in challenging lighting conditions typical of Indian weddings
All of you have shot at least one Indian wedding sometime in your life, right? So you definitely know from experience how unpredictable and chaotic Indian weddings are. Rituals run late and there are always more people you know (and don’t) and more functions than you expect. Most Indian wedding celebrations are spread over days with rituals like sagan, haldi, mehendi and sangeet/cocktail. In fact, every community and culture have different rituals. Considering that, being a wedding photographer today isn’t just one thing. One has to be an expert at fashion, landscape, concert, portrait, family photography and more. And you’ve to be prepared to shoot anything in any situation. And it’s certainly not easy. Events run late, venues change and functions move quickly form harsh noon light to dim-lit indoors.
One of the most difficult things we have to deal with as photographers at a wedding is the lighting. And it changes with every wedding and even various functions during a wedding. The lighting conditions are not always what you anticipate. It can be frustrating to shoot in terrible lighting, so planning ahead and being prepared is your best bet. It’s really important to see, understand and manipulate light to your advantage so that you can give the couple and their family beautiful memories from their special day. Shooting weddings over the last decade have given us enough experience to handle any situation. And to be honest, we love the challenge too! So we’ve put together a few tips for you to keep in mind while you’re shooting a wedding.
#1 Learn to see light
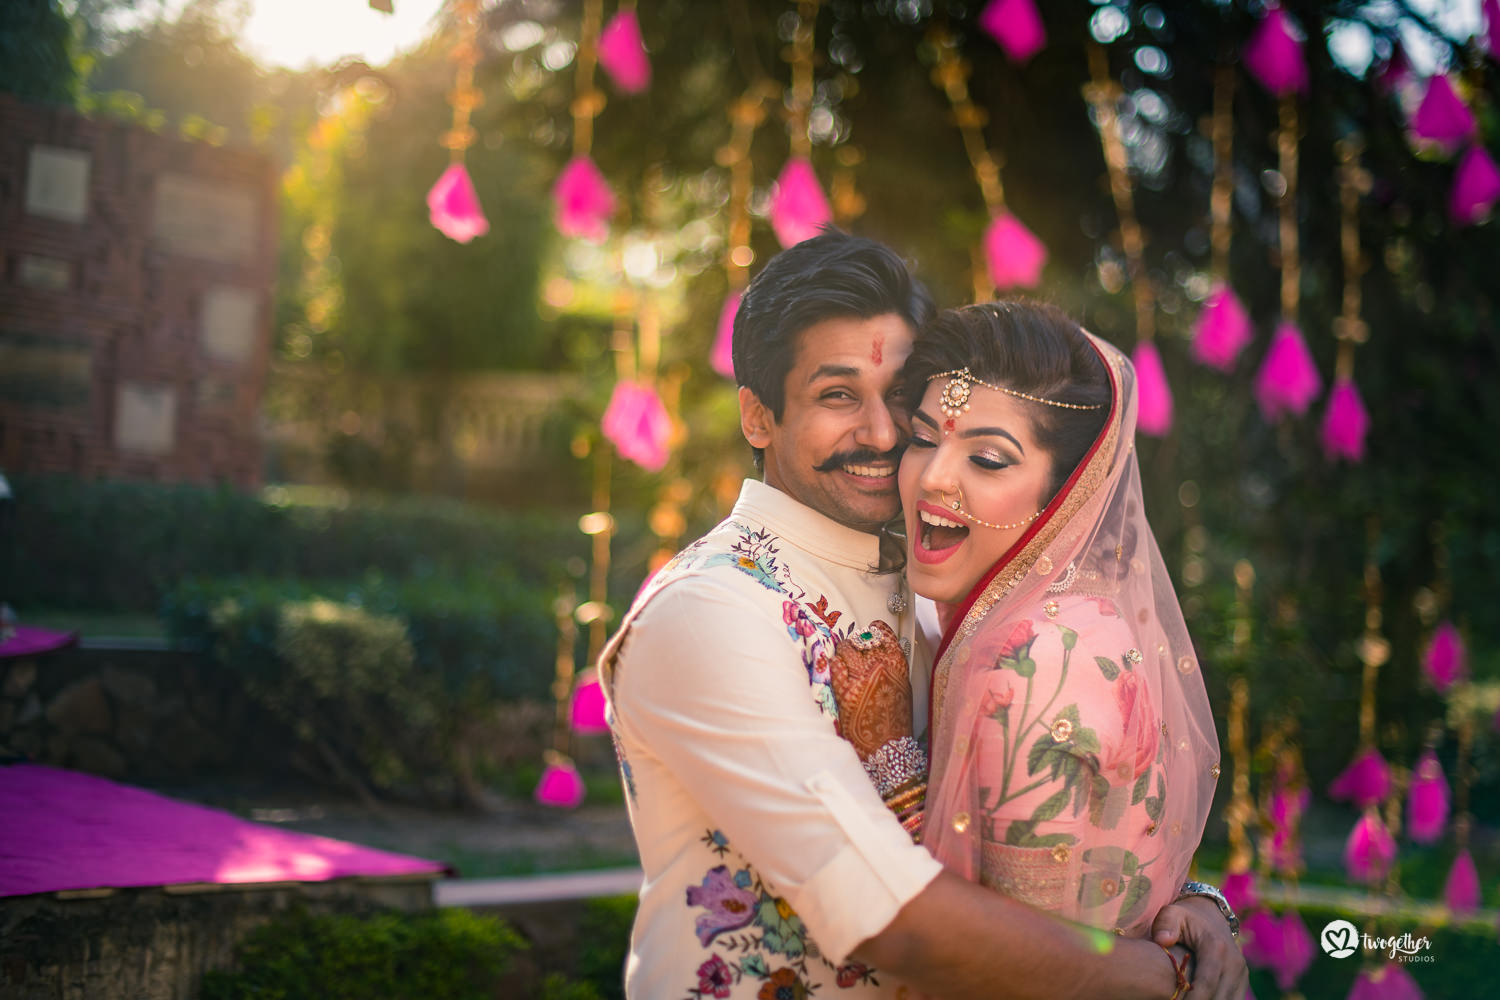
We don’t use cameras with film negatives any longer. But photography is still all about the way light reacts with the subject and surrounding conditions. To be a good photographer, you have to learn how to see light. When you look at a scene you should be able to identify the shadows and highlight areas as well as the contrast range of the scene. Our eyes are always drawn to the brightest part of the scene, that is, the highlight. So try and place your main subject in the highlight area.
It’s also important that you visualise how your photo will come out before you take it. Be it outdoor functions with harsh mid-day light, soft evening natural light, a semi-indoor event with light streaming in from one side or concealed ceiling light in a ballroom, or coloured flashing LEDs at a sangeet. You should be able to see the light, it’s direction, and know your settings without having to undergo trial and error on the spot. So make it a habit of seeing the light every time you look through the viewfinder.
#2 Decide your lighting strategy
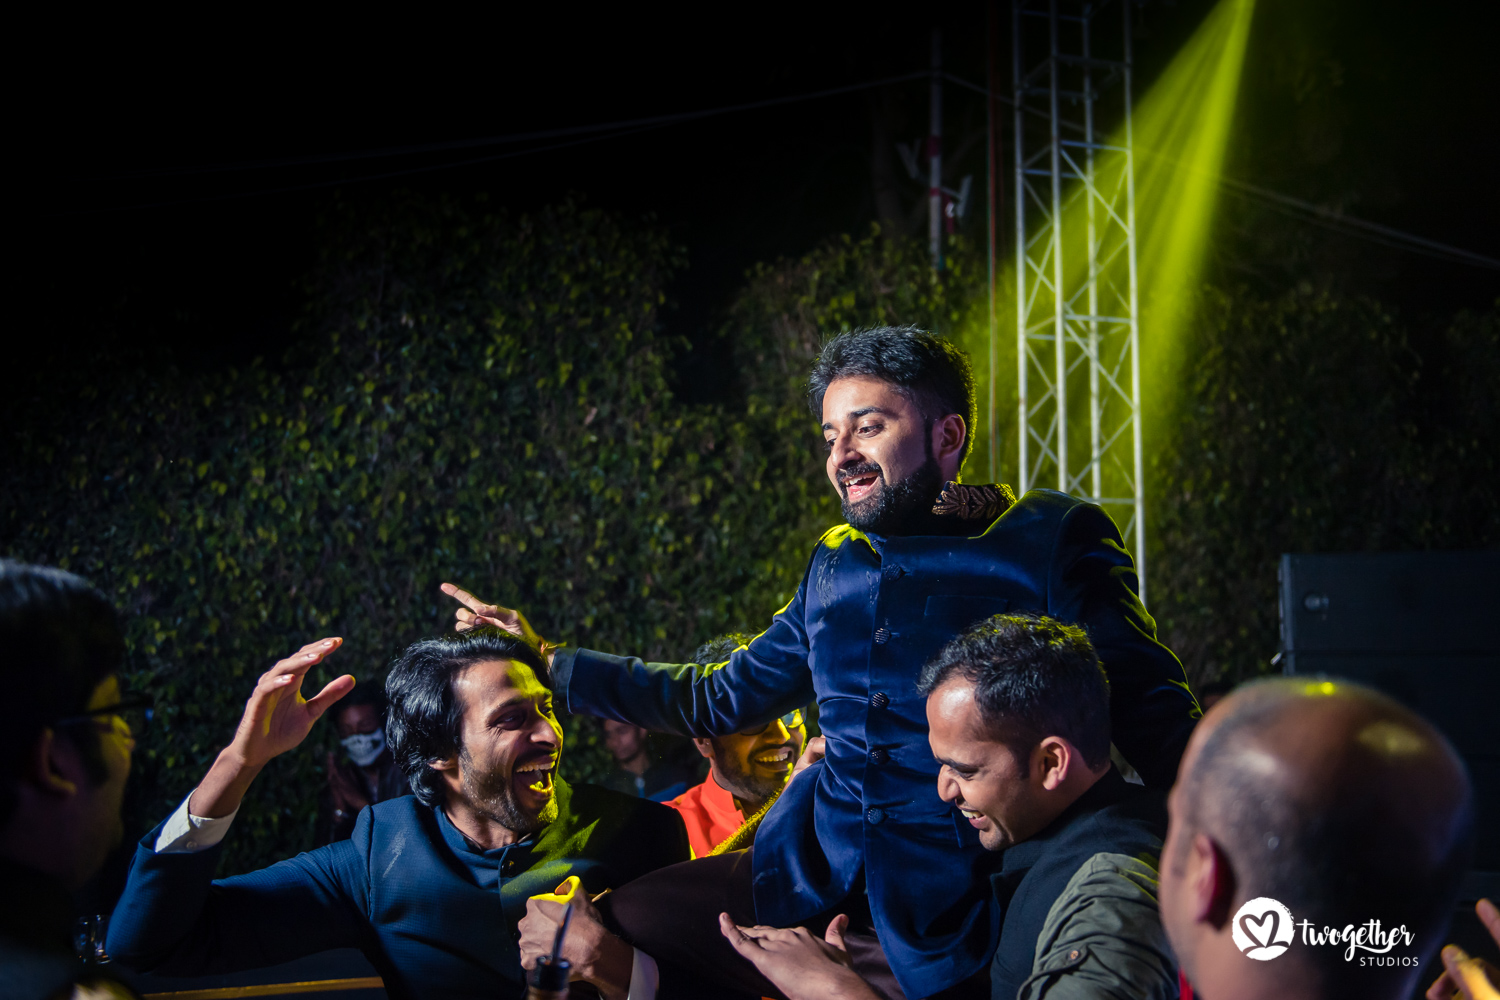
Basis your reading of the scene, the venue, the decor, surroundings and lighting, there are a couple of ways you can proceed. First, ask yourself if there is enough natural light? If yes, you’ve got your work cut out for you. If not, look around and see if you can move your subject to a place with better light. Or can you move around and take the shot with a different angle that provides better light? It’s a simple solution, but one that fails to cross our minds a lot of times.
In case, there is not enough ambient light or you can’t move your subject, you can go two ways. One, you can push the limits of your gear and bump up your ISO and open your aperture wide. Two, you can choose to use artificial light – LED panels, on-camera flash or off-camera flash if you have an assistant handy. Whichever option you choose, make sure you’re comfortable with it and have a strategy in place.

#3 Know your camera and equipment
While deciding on your strategy, remember that it shouldn’t take you more than a few minutes once you’re on the scene. Trying to figure out how your camera settings are configured or how to pair your off-camera flashes at the venue is just not an option – if you’re not familiar enough with the camera, or just got a new one, learn how it works on your off-time. After you reach the scene, it should only be about deciding your camera strategy and switching to the settings required to achieve that as quickly as possible. During a wedding, it’s about capturing that one moment during the chaos. So time is of the essence.
So familiarise yourself with your camera and it’s every function. And most importantly, know the relationship between the holy trinity – ISO, aperture and shutter speed. Needless to say, any of the 3 can be used to get the right exposure but remember: a higher F-Stop will reduce exposure overall, lower ISO will help curb hard light or a too-bright flash and a higher shutter speed will cut out harsh/disturbing ambient light.
Make sure your camera, flash, and triggers are synced and have enough juice. You should know how to install, remove or change your light modifiers quickly. Having a few different light modifiers and knowing which one works for which situation will give you more flexibility. (More about manipulating light and different light modifiers in our upcoming article).
#4 When in doubt, meter for the face
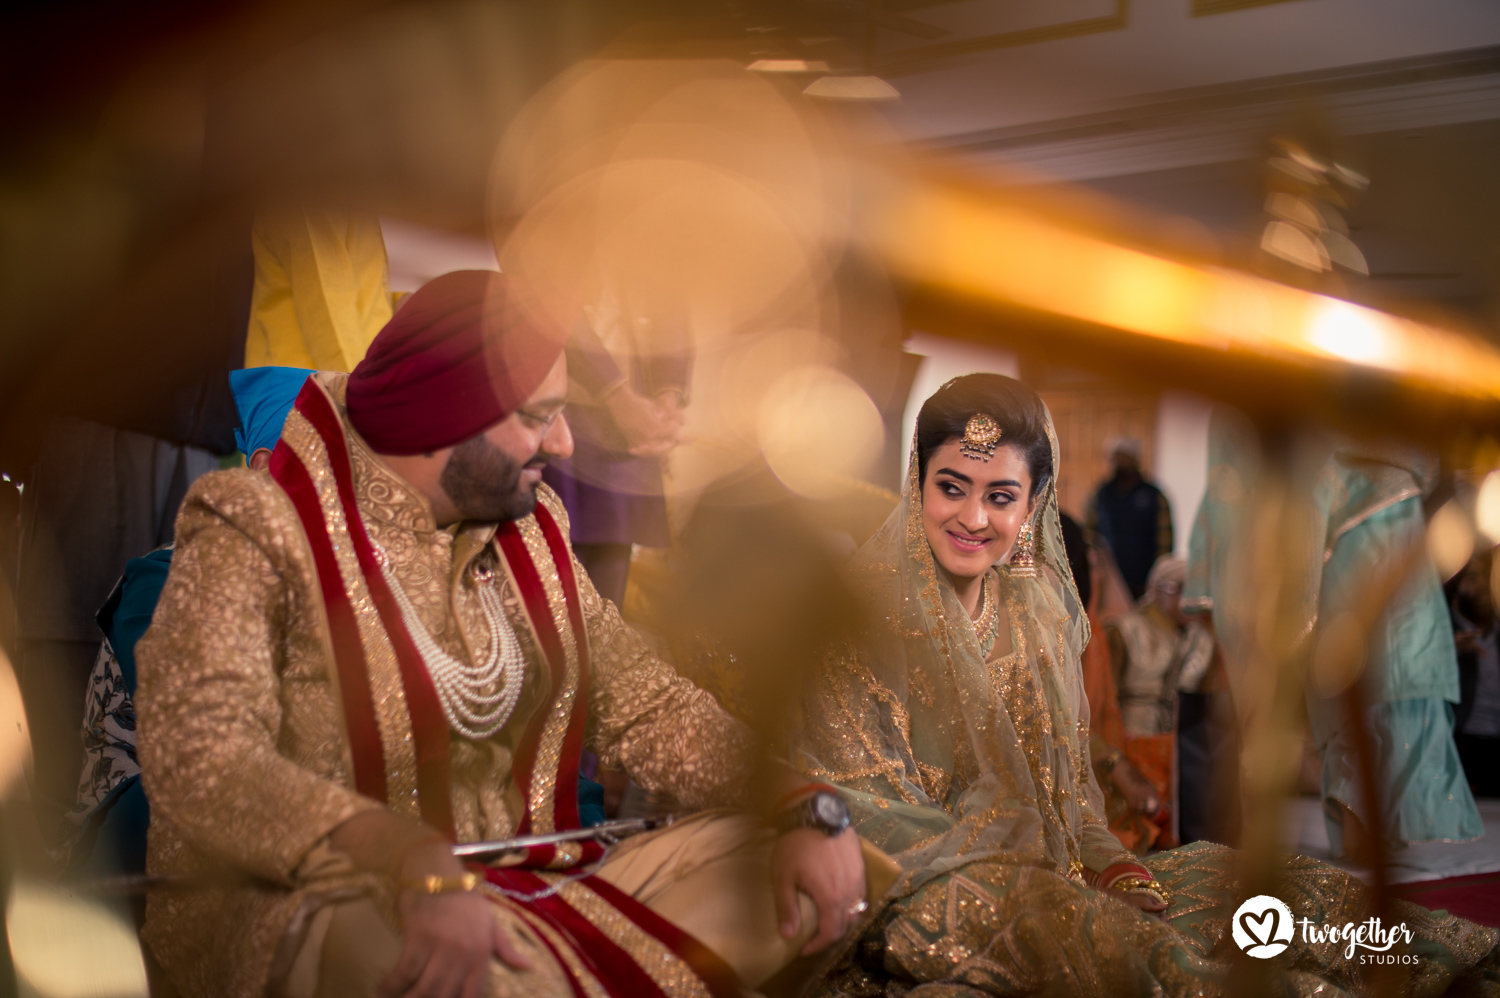
Like we said, the lighting situation at each wedding and event is different. The strategy is decided basis many different factors as we mentioned above. Even though the expectation is that you should know your equipment and the exposure basics well, learning how to use light to your advantage takes time and skill. So while you’re on the learning curve, and have any doubts about how to handle the light situation, switch to spot metering mode and meter for the face before you take a decision. The worst that could happen is that the ambience/background will get either blown out or underexposed. But as long as the face and skin tones look good and natural, the picture can be salvaged.
#5 Maintain the mood of the event
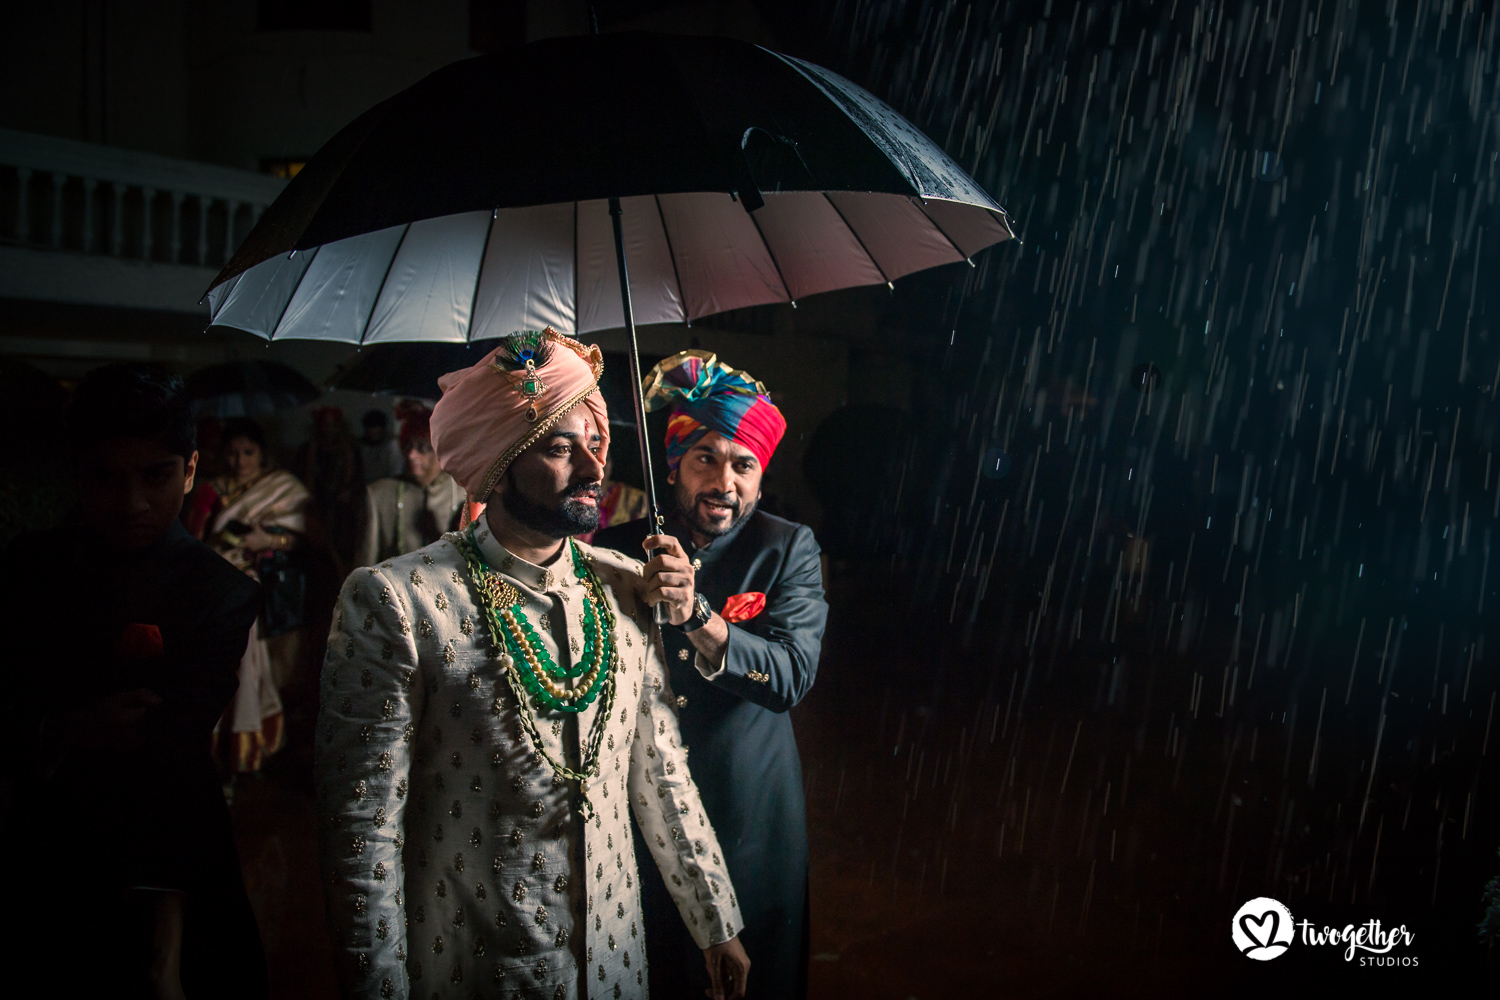
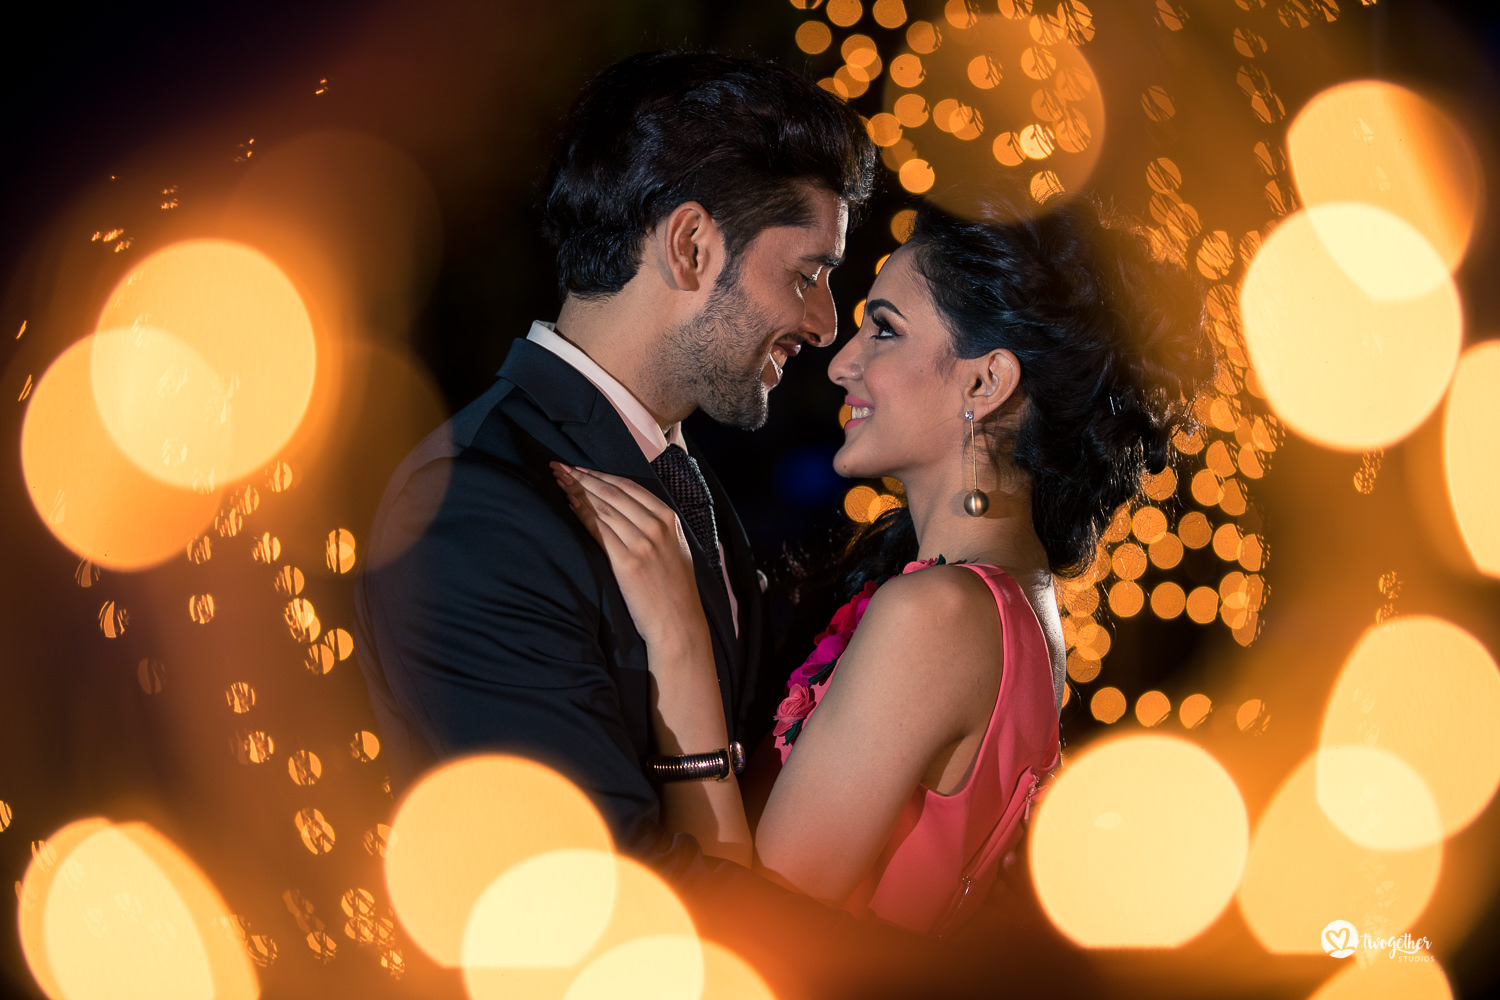
Every wedding function has a theme and follows a certain mood throughout – haldi/mehendi functions are usually bright and colourful, and a sangeet function might have dramatic or mood lighting along with a lot of fairy lights and candles.
When planning your lighting strategy, whether using flashes or setting up constant LED light panels, try and maintain the mood of the event as far as you can. Changing the light and mood won’t capture the essence of their day and will also make your images much more flat and uninteresting. If the event is dimly lit, rise up to the challenge. Get creative with your lighting strategy to give the couple dramatic images with depth because we’re sure that they would like their memories to be as close to reality as possible. Don’t forget that, after a few years, they remember their wedding only as you captured it.
#6 Knight in shining armour: Digital Post-Processing
If you find that the venue is poorly lit or you don’t have an arrangement for artificial light or for some reason you aren’t allowed to use it (in a church or gurudwara perhaps), don’t hesitate to bump up ISO. It’s always better to have an underexposed or a grainy shot than to have none. If you’re shooting in RAW (as all professional wedding photographers should), you should be able to rescue the image during post-processing. But don’t make this a habit. Try as much as possible to find ambient or set up artificial light to get the images right in-camera. Saving your image in post-processing should be your last resort.
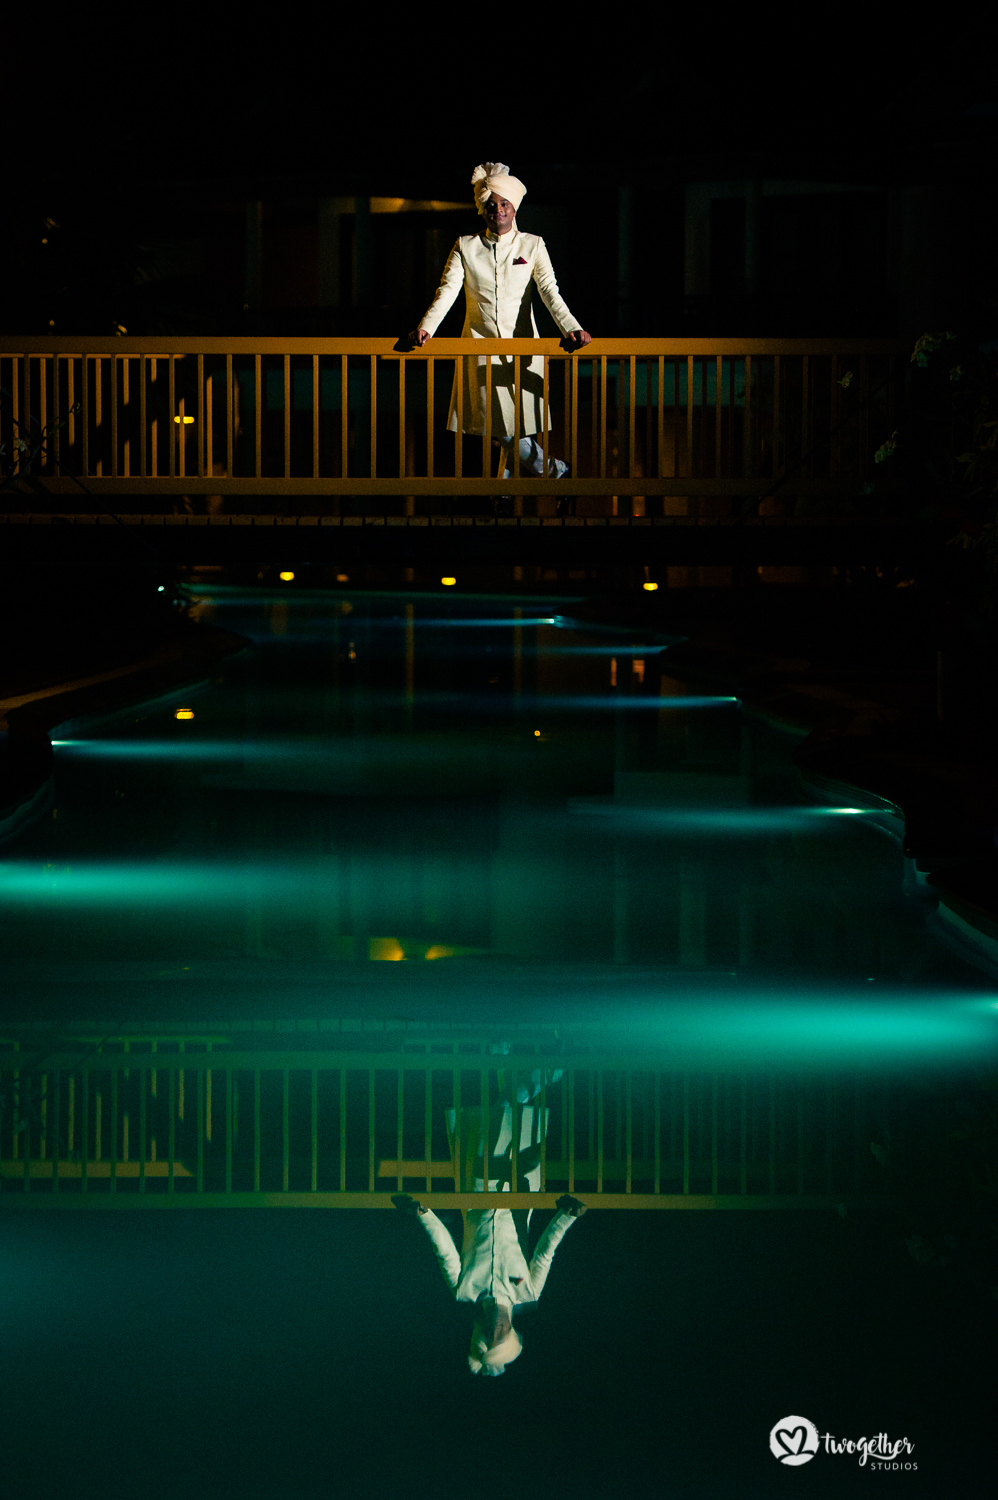
You can’t control the situation at weddings, but you can certainly prepare for them. Arriving on location before time, having a discussion with the planner about the decor and timing of events, talking to the lighting guys at sangeet ceremonies, etc are just a few ways you can keep abreast of what to expect at a wedding. None of the above measures are as complicated as they sound. Once you practice enough, everything will come automatically as a matter of process to you.
These are just some basic tips & tricks of lighting that you should follow as a rule for every photo-shoot. We’ll be talking more about manipulating available light, the use of artificial set-ups, and different light modifiers for different situations in our next post. So stay tuned for finer details of how to manage the lighting in Indian weddings.
Do you follow any lighting basics for photographing Indian weddings? Let us know in the comments!


Add a Comment