The lowdown on making the best of available and artificial lighting at Indian weddings
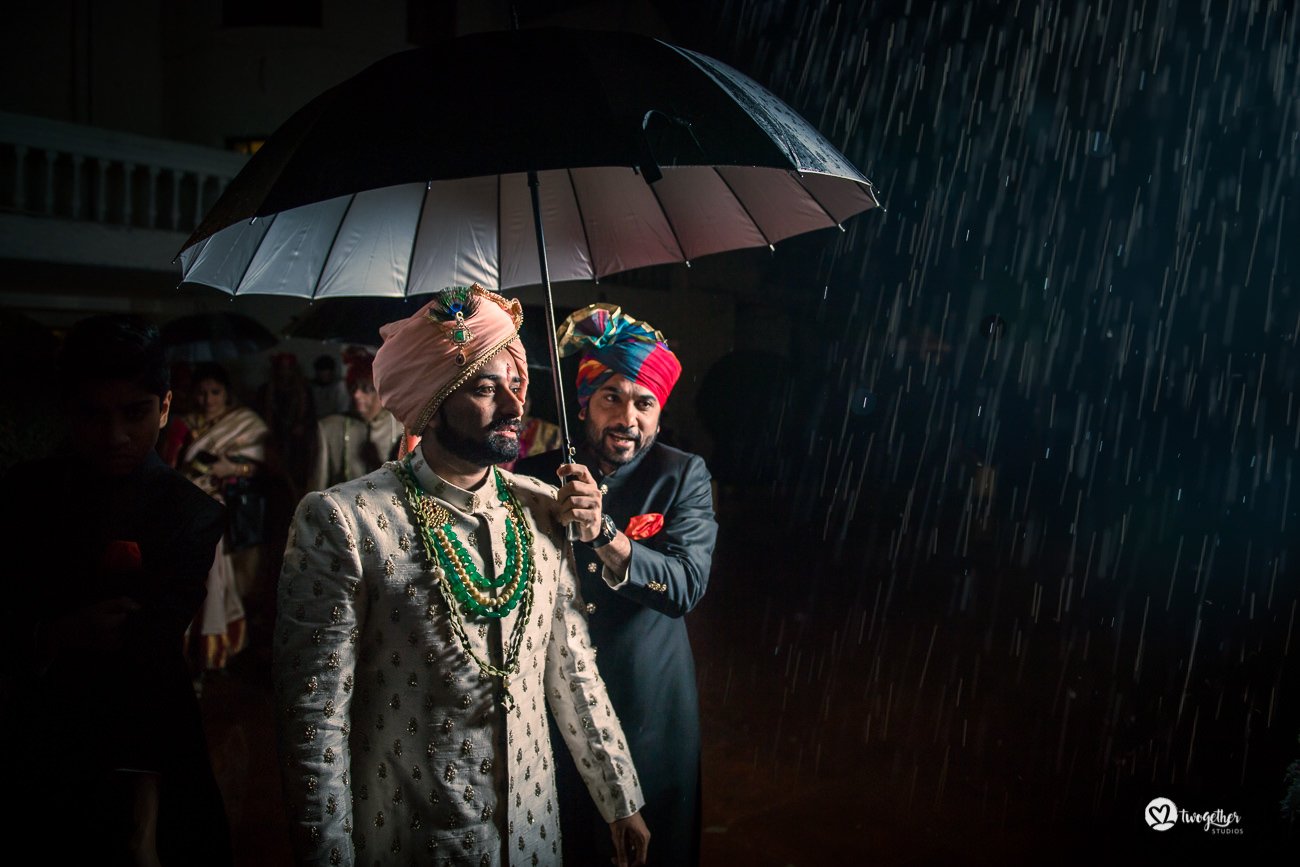
In our previous post, we spoke about some lighting basics for photographing Indian weddings. We don’t need to say it again, but we will nevertheless. The lighting situation is quite unpredictable at Indian weddings. And as people who are going to capture some of the most important days of a couple’s life, we can’t afford to make mistakes. It is one thing to shoot in the perfect golden hour light but taking consistently good pictures in dim-lighting, spot-lighting, coloured disco lighting etc, is quite another beast. If you do it right, the family will cherish the memories for years to come. But if you don’t, you’ll most likely ruin your reputation and a couple’s most precious day. So it’s important to know how to handle unsuitable lighting conditions at various wedding events. You should know how to manipulate the light – available and artificial – to get what you want.
This post goes into more detail about using available light and the kind of lighting equipment that works in different situations at an Indian wedding. If you’re someone who’s just starting out, this post is for you.
#1 Make the most of available light
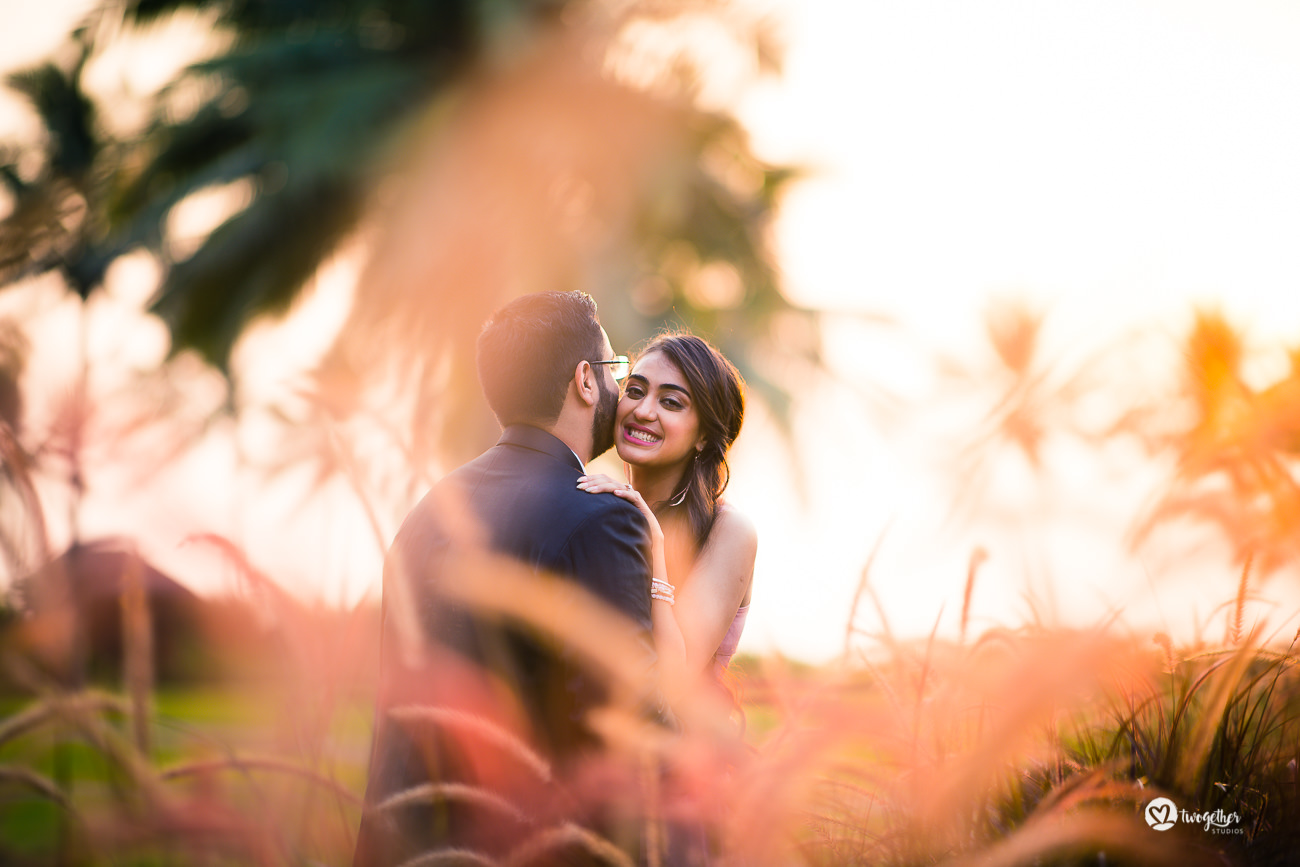
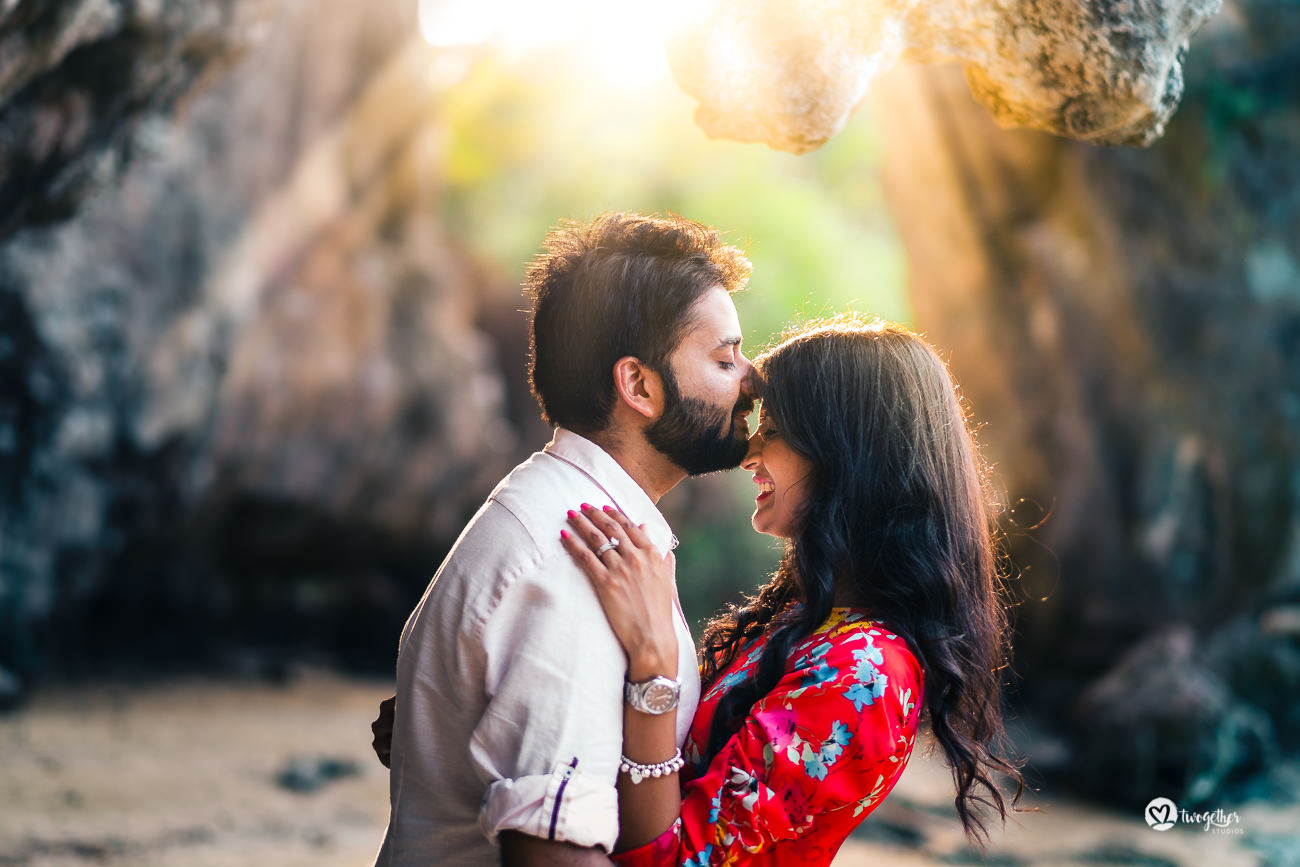
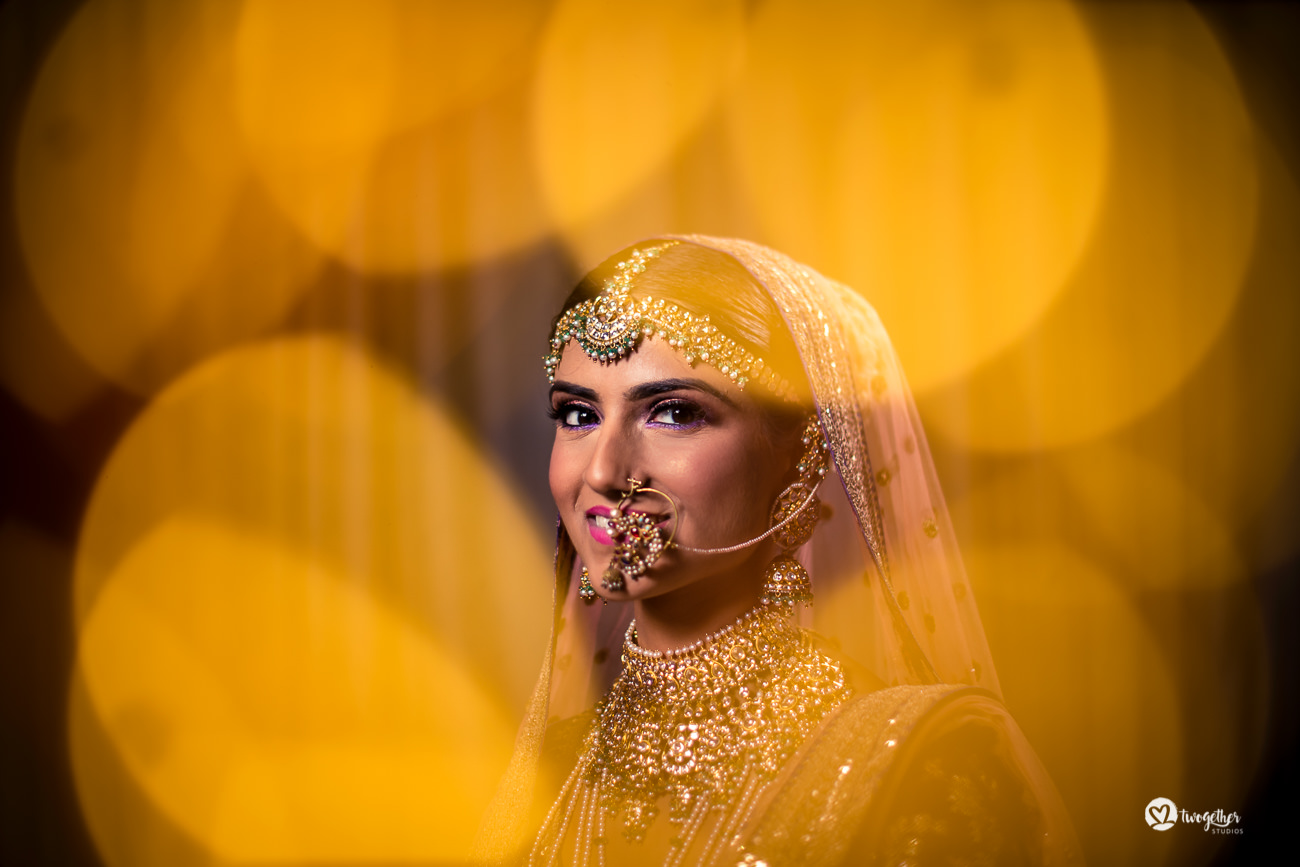
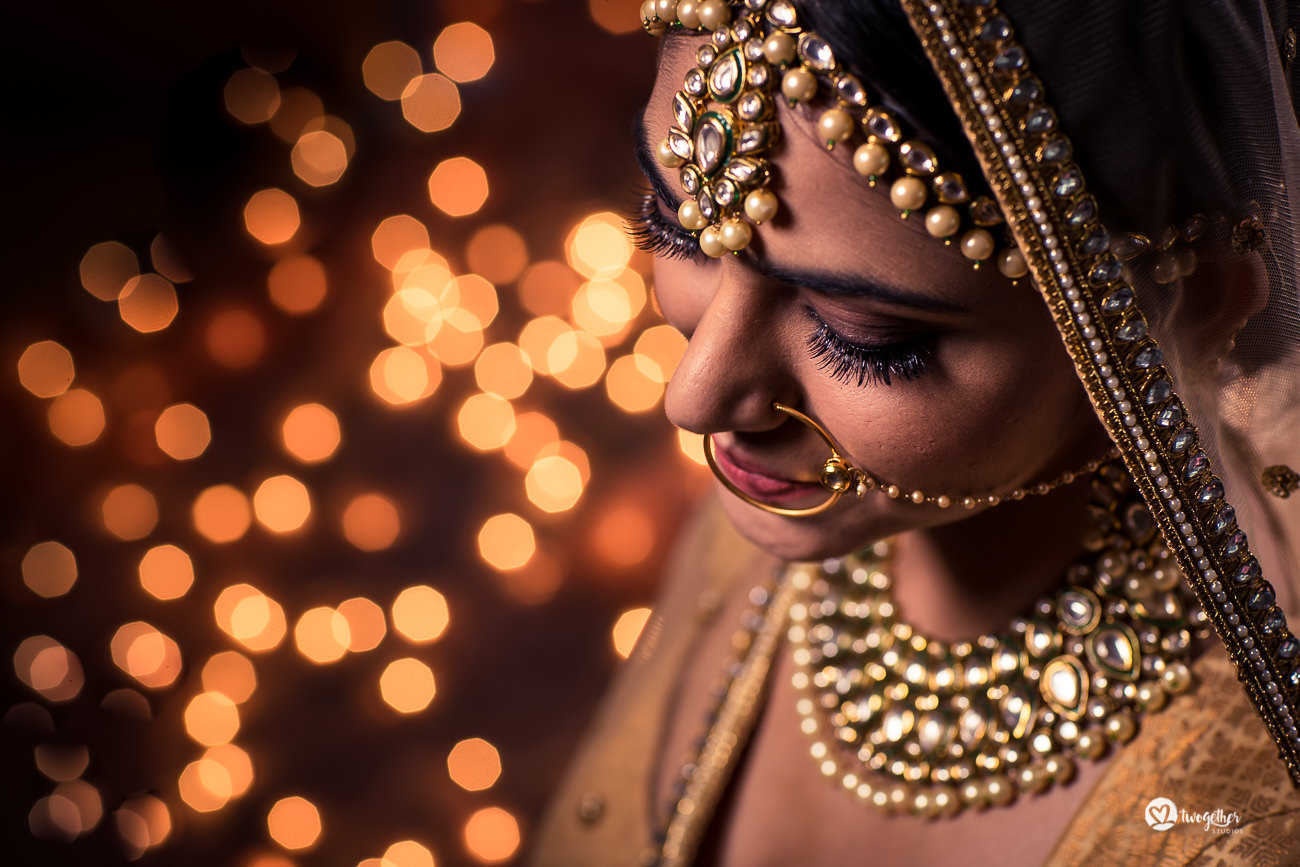
As we said before, it’s important to see light, understand it’s direction and intensity and the effect it has on the shadow and highlight of a scene or subject. By available light, we mean any light source available at the location that helps expose the shot – sunlight, bulbs or tube lights in a room, candles, LEDs, bonfire, neon lights, etc. It doesn’t matter what kind of light it is or its source, you should remember that diffused directional lighting always produces the most pleasing results for human subjects. And the challenge at weddings is attaining this exact effect using available light.
Even though many photographers acclaim the benefits of natural light, it certainly has its own challenges. In a perfect world, we would only shoot in the golden hour. But the reality is that even while shooting in natural light, we have to diffuse harsh sunlight, fill shadows and illuminate open shaded areas.
One trick is to turn the subject so that source of light falls at a 45-degree angle for a more pleasing effect. Flat front facing or direct light is harsh and can cause you to lose details in the frame. So try to use natural reflectors available at the location – large white walls or windows/mirrors. You can also carry portable, foldable reflectors to fill shadows. Or use open shade technique – place the subject the at the edge of a shaded area facing the non-shaded area – to illuminate the subject in a softer way.
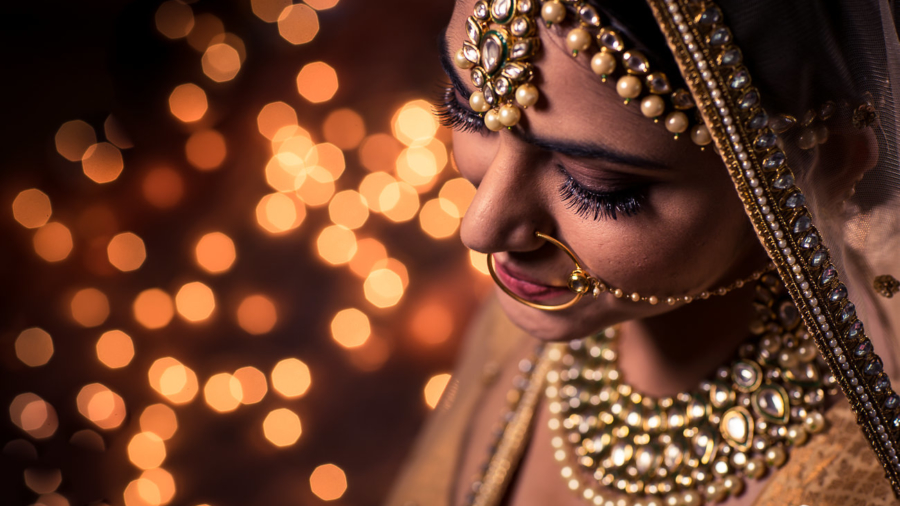
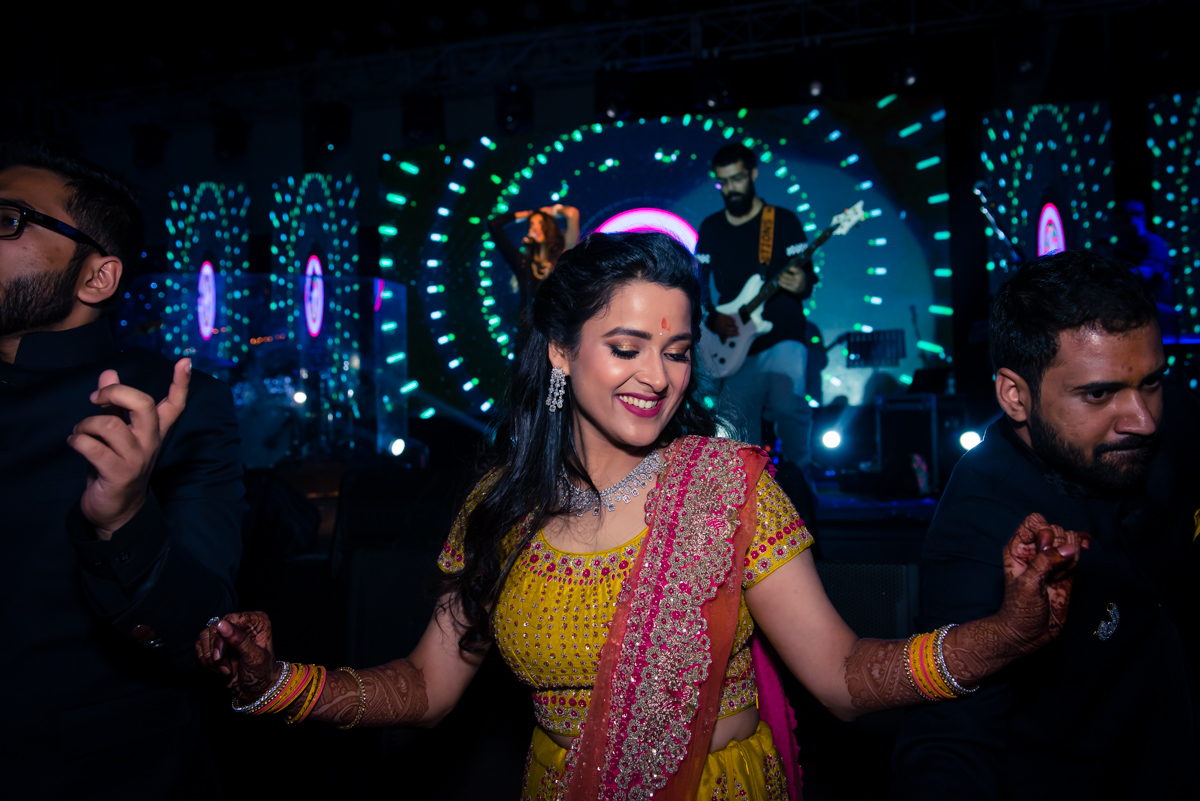
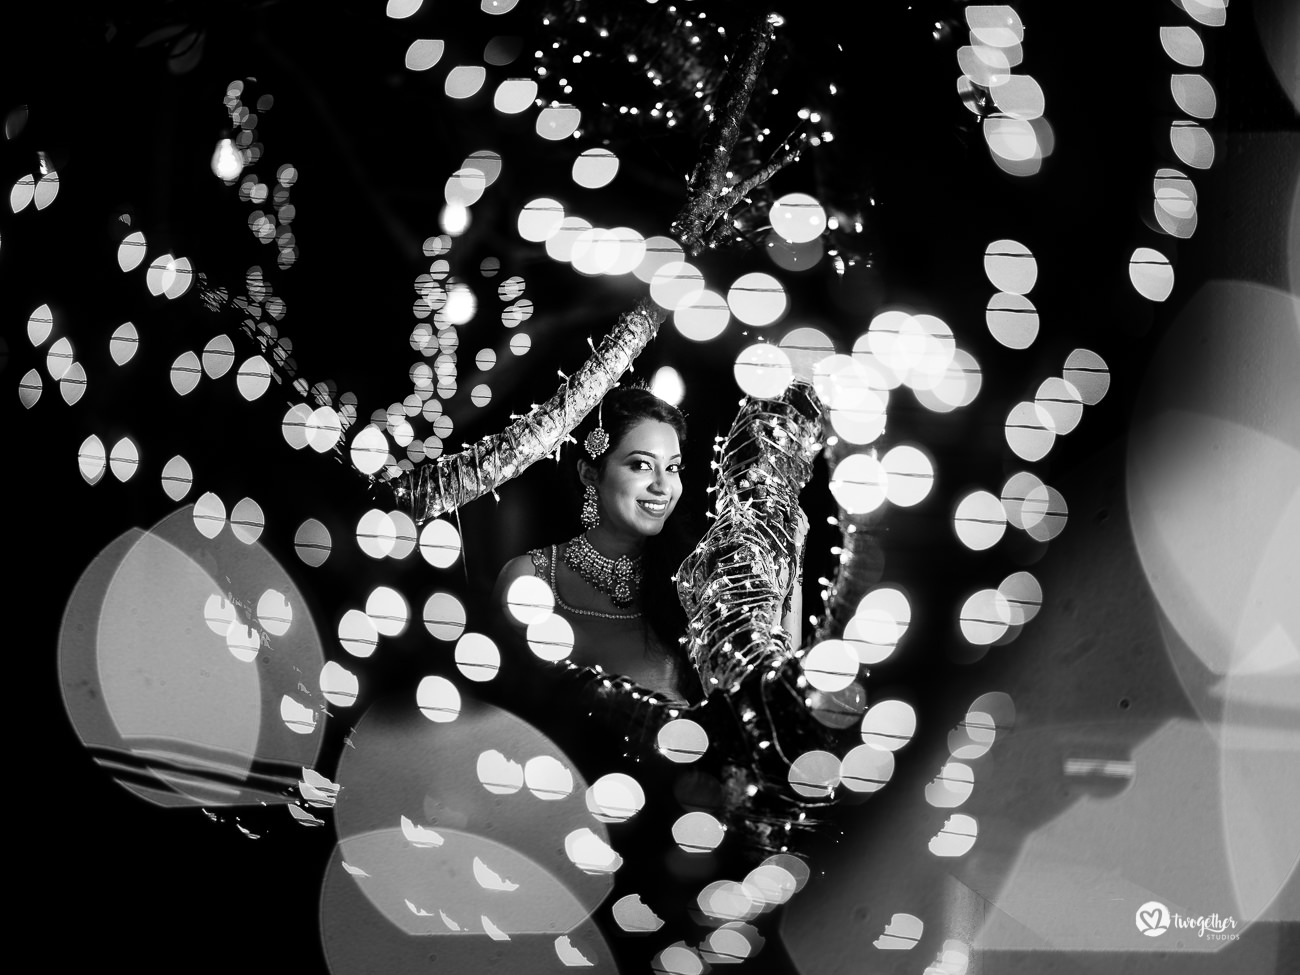
#2 Create drama using available light
When trying to work with available light at a wedding, look for any source of light that can create drama – a shaft of light coming from the window, spot-like concealed ceiling lighting in a ballroom, landscape spot-lighting focussed on a tree or wall, filigree or cut-work lamps as part of the decor. The easiest way is to take the subject where these sources of light hit directly. Then spot meter for face and take your high-contrast dramatic shot.
#3 Static constant LED panels
LED panels are great to add light and achieve the exposure needed in dimly lit areas and situations at a wedding. The advantage is that they’re battery-operated chargeable panels, portable and easy to mount on light stands. So you can place them wherever you need to add fill light. But also remember to place them at a 45-degree angle to the subject so the light is directional and flattering.
One other advantage of LED panels is that unlike flashes and speedlights, it’s not blinding or startling to one’s eyes. But they could be a mood killer. If the event is dimly lit and has mood lighting, setting up an LED panel could ruin the feel. So be judicious about their use. You don’t want to disrupt the vision of the couple. But the good thing is that most good quality LED panels will give you the option of adjusting the brightness levels as well as let you mix warm and cool light. So you can easily adjust the light accordingly and get the exposure you need without disrupting the ambience.
#4 On-camera flash
Even though most wedding photographers would prefer off-camera lighting, on-camera flash is a good fallback option for when you don’t have an assistant or a radio trigger handy. Like we said, it’s better to get a shot that you could salvage in post-processing than miss a moment. So if you have to use an on-camera flash, we suggest taking manual control of the flash settings as it will help in creating softer and more flattering light.
The disadvantage, however, of using an on-camera flash and one that drives away most photographers is the harsh light, and the flash burn it produces on the subject’s face. But that can be minimised by bouncing the flash off the ceiling or a wall. If you find that difficult to do because of high ceilings, then use light diffusers in forms of plastic domes to soften the light from the direct flash.
#5 Off-camera flash lighting
Off-camera lighting is the most preferred lighting set-up in wedding photography today. Why? Because it allows us to give directional light, and controls the intensity, harshness and softness of the light by being a movable source of light. Off-camera lighting also gives you option of creating images ranging from well-lit studio style portraits to dramatic mood shots. But the effect created by off-camera lighting is based on the choice of modifier. So, let’s talk about a few light modifiers that you can pair with your off-camera flash.
5.1 Off-camera flash with umbrella
Umbrella gives a lovely soft lighting that covers a broader area. One of the bigger advantages of using this is that it’s pretty simple and straightforward to use. And easily available. It’s also not a problem if one gets damaged during a wedding, because it’s extremely cheap. An umbrella is also very portable, easy to install and breakdown. Another advantage is that it is a good option for amateurs to start learning.
And the drawback is that it produces only one kind of light that is often spread too wide and spills. It also illuminates the background as much as the subject, so it’s difficult to create dramatic images. Another problem is that because of the surface it covers, it could just as easily get into your teammate’s frame and disrupt his shot, and can be quite an eyesore at a wedding.
5.2 Off-camera flash with softbox
Softbox is a great lighting equipment that we’re sure all photographers swear by. It emulates the soft, diffused light that comes from a window, conceals skin blemishes, reduces contrast, softens edges of shadows and produces light that “falls off” very quickly as it gets further away from source so that background is less affected.
One reason why it’s preferred over umbrellas is its ability to control and shape light. Unlike the case in using an umbrella, the light doesn’t spill over a larger area when using a softbox. It also gives you the option of adding grids on top, creating more narrow and directional lighting. Plus, they’re available in different shapes like the square or octagonal softboxes that create a very pleasing, round catchlight in the eyes of the subject – which is quite important for portrait and fashion photography.
It’s not as portable as umbrellas though and takes a little more effort to assemble and breakdown. And a good quality softbox is at least ten times the price of an umbrella. But while it is a relatively expensive investment, it’s one that will reap you more than you sow.
5.3 Off-camera flash with MagMod
These are all the rage in the wedding photography industry today. They’re great for dramatic mood shots, especially using the MagGrid. Mostly used for giving sharp shafts of directional light to create high contrast dramatic images, they are suitable for dance floors during DJ performances, sangeet night or creating striking bridal/groom or couple portraits. You could use a kit of coloured gels, handy for creating dramatic shots much like giving the effect of coloured LED focus lights or backgrounds.
But unlike softbox and umbrellas, the quality of light produced is harsher. It creates harsh shadows, which is sometimes part of the artistic decision but not always desirable in every kind of low light situation. They’re also quite an expensive buy.

Don’t be afraid to play around with artificial lighting. We’re not saying it’s easy, but it’s not impossible either. Once you have the hang of it, we guarantee your images will be quite extraordinary. The key is to practice, prepare and scout. Practice shooting in odd-lighting in your off time. And prepare for a wedding by scouting the location, talking to the wedding planner, the lighting guys and being aware of what will happen when and where. If you’ve practiced enough, know what lighting situations an event will happen in and which time of the day it’s happening, you’re good to go.
If we haven’t covered anything, or you have any questions, do let us know in the comments. We’d love to answer!
Add a Comment